Hello & welcome to another early access recipe.
As you may know, as subscribers to my free newsletter you get access to upcoming recipes before they go live on my blog, saltbuttersmoke.com!
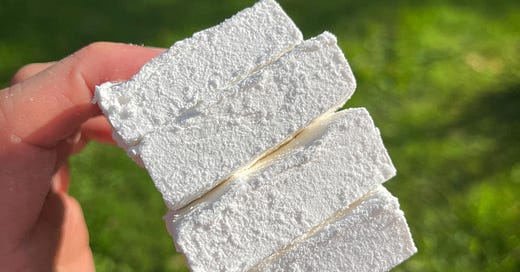
This week, we are making a batch of homemade marshmallows, flavoured with vanilla. They’re super quick & easy to make & can be used as a base for all sorts of other flavourings. Use them in s’mores, top cakes with them, put them in hot chocolate or just eat them on their own!
Onto the recipe!
Vanilla Marshmallows
Makes Roughly 20 Marshmallows | Prep: 15 Minutes | Setting Time: 4 Hours +
Ingredients.
70g Egg Whites (Roughly 2 Eggs Worth)
1/4 tsp Cream Of Tartar
Pinch Of Table Salt
200g Caster Sugar
30g Glucose Syrup
65g Water
2 tsp Vanilla Paste
5 Gelatine Sheets
50g Icing Sugar
50g Cornflour
Method.
Sieve the icing sugar & cornflour into a bowl & mix together. Set aside.
Fill a container up with cold water & add in the gelatine sheets, one at a time. Leave to soak for 5 minutes then squeeze the water out & place the sheets into a small saucepan.
In the meantime, place egg whites, cream of tartar & salt into the bowl of a stand mixer & set aside.
Next, add the caster sugar, glucose & water into a medium sized saucepan & set over a medium - high heat. Cook this, without stirring until it reaches a temperature of 121°c.
When the syrup has reached 100°c, start whisking the egg whites on a medium speed. They need to be at soft peaks when we add the syrup in.
Once the sugar syrup is at temperature, slowly pour it into the egg whites, with the mixer running on a medium - low speed. Try to avoid hitting the whisk as you pour the syrup in.
When you’ve added all of the syrup, turn the mixer back up to medium & whisk until cool. This will take around 10 minutes.
When the side of the mixer’s bowl feels almost cool, place the saucepan of soaked gelatine over a very low heat & warm until the gelatine has just melted. This will take very little time, around 30 seconds.
Pour the melted gelatine & the vanilla paste into the marshmallow & continue whisking until completely cool.
Whilst the marshmallow is finishing off, lightly grease a 20x25cm* baking tray with vegetable oil then dust generously with some of the icing sugar & cornflour mix from earlier. Make sure that the entire tin is coated.
*Using a tin this size will make fairly thin marshmallows, if you want thicker ones, use a smaller tin.
Once the marshmallow is cool, spoon it into the lined tin, smooth over the top with a palette knife then leave to set at room temperature, uncovered for at least 4 hours.
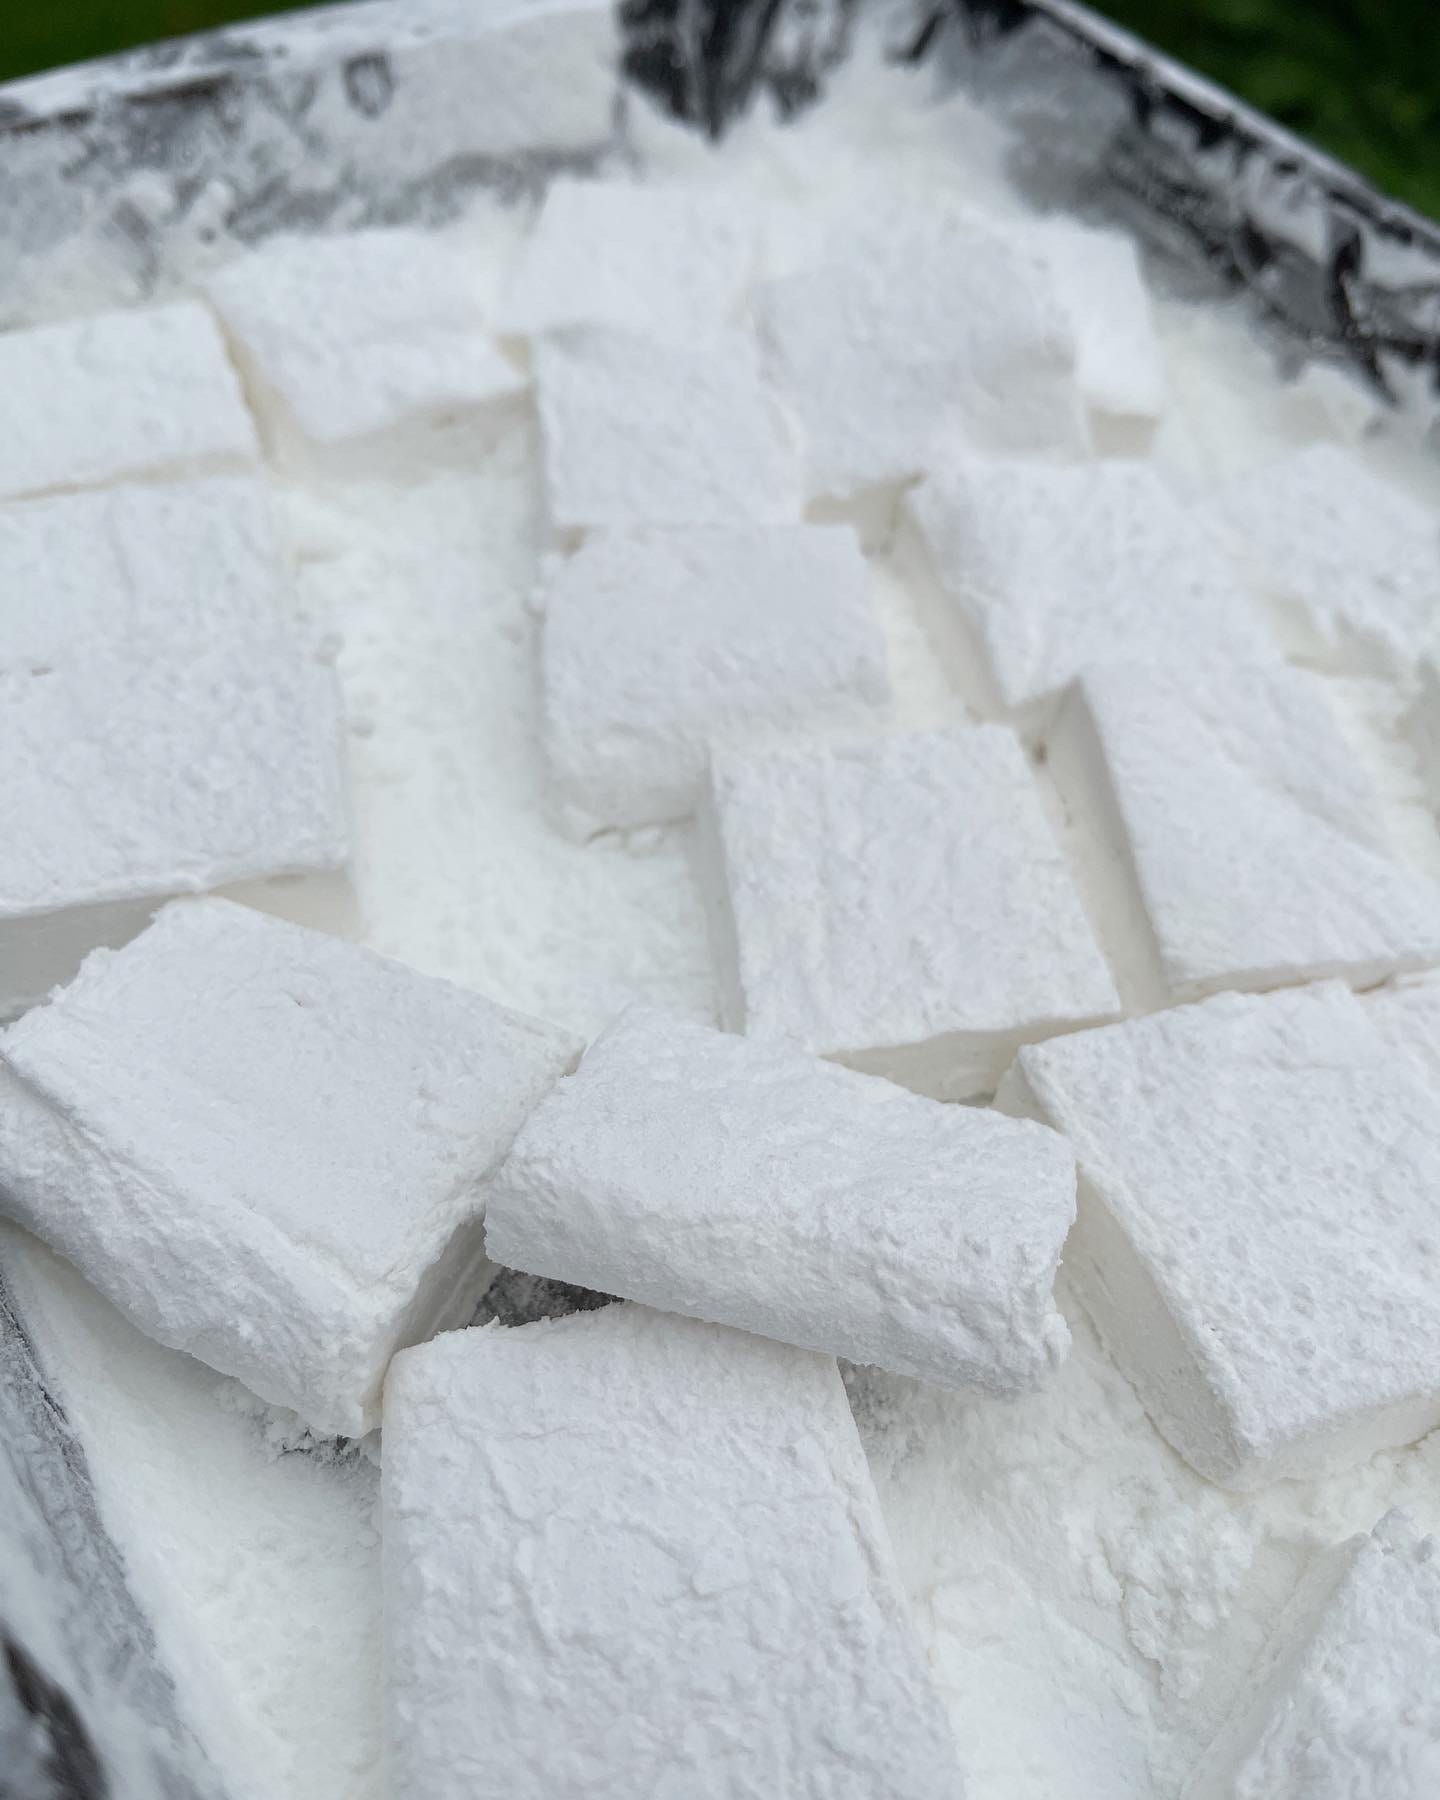
When the marshmallow has set, dust the top lightly with the icing sugar mix then carefully remove the marshmallow from the tin & cut into squares. You can use either a knife or scissors dusted with icing sugar & cornflour for this.
Toss the cut marshmallows in the remaining sugar mix, shake off any excess then serve. Kept in an airtight container, the marshmallows will last for several days.
Thanks for reading this week’s exclusive recipe. See you next week!


